

Fruit growing in the High Desert of Far West Texas has always fascinated me. Over the last handful of years, I’ve noticed several types of fruit that are plentiful out here, seemingly without any type of care or attention to their growth.
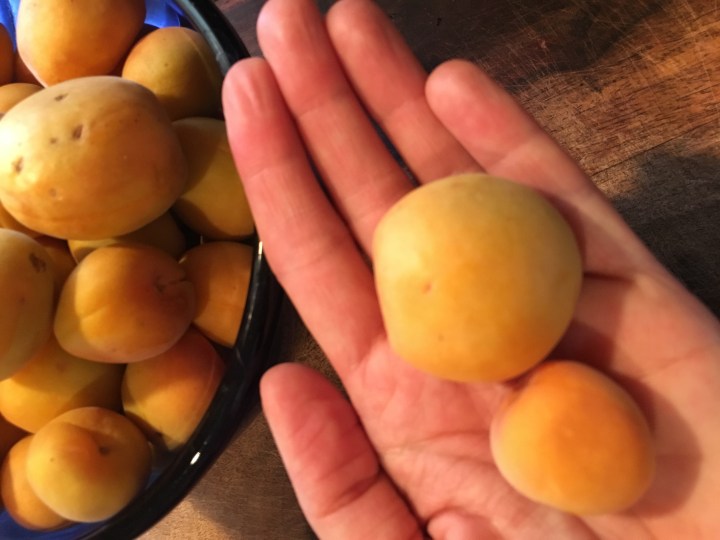
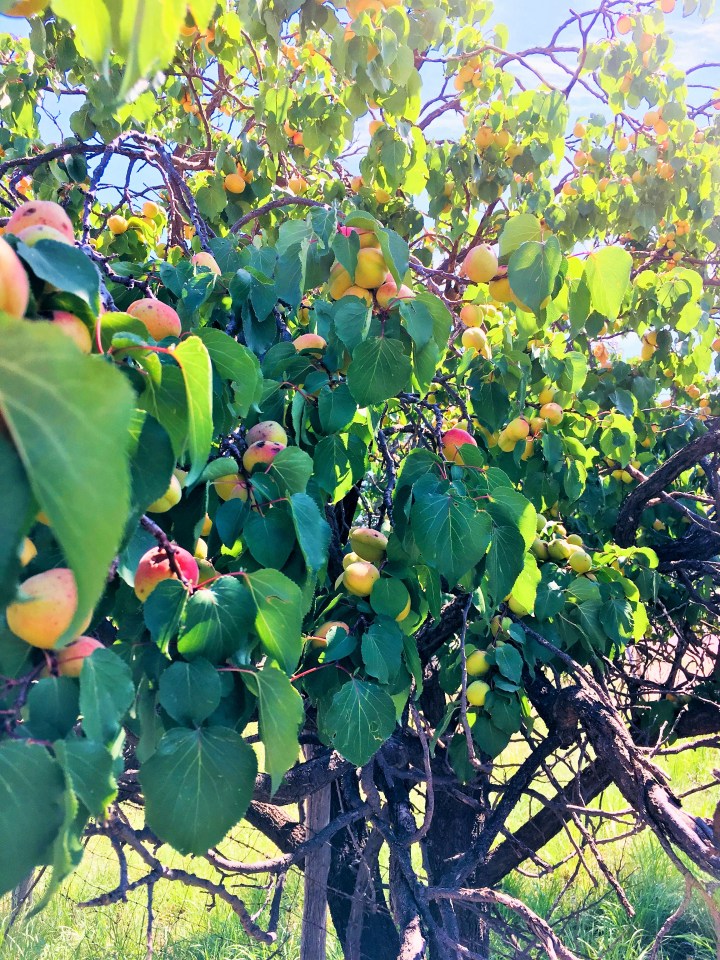
From apple orchards to apricot, pear and peach trees dotting yards and ranches, how these trees are able to thrive in our harsh weather is impressive. Right now, I’m seeing apricot trees, dripping with teeny orangish-yellow fruit, in yards, roadsides and even abandoned properties. Prickly pear cactus are loaded with fruit, ready to start ripening to a bright magenta.
As summer progresses, local pears will be everywhere from our grocery markets to roadside tables to my cast iron skillet and even to our freezer.
Apricots are loaded with Vitamin A, which helps enhance vision and keeps our immune systems in check. They’re rich in fiber, help reduce bad cholesterol and chock-full of antioxidants. They’re just all-around good for you.
Several years ago, I decided I wanted to grow apricots. I had a hole in the yard that needed to be filled, and decided that I wanted to plant a fruit tree in it. Looking around town at what trees bear fruit, and knowing there’s an old apple orchard in town as well as another up in the Davis Mountains Resort, I was torn between apple and apricot.
I started researching how to grow an apricot tree from an apricot stone (pit), and saved every stone from my snacking.
There are many steps to get a baby apricot tree started from a stone. I’m sure arborists and fruit tree enthusiasts might read this and say, “but you forgot about this part…” I’m just paraphrasing from memory.
You first have to scrub the skin off the stone and let it dry for a number of hours. Then, you have to use a hammer to somehow manage to crack open the rock-hard pit (there’s a reason it’s called a stone) and get to the delicate seed inside. My first attempt shot shattered stone and seed bits all over the place.
At some point, you have to freeze the seeds for 60 days because we live in a hot climate.
Then, you put them in a ziplock baggie with a wet paper towel, in a sunny window, and watch for new life to sprout from the seeds.
Next, you can plant the sprouted seed in soil and tend to it while it grows into a sapling. You can even grow them in containers.
Then, in a mere three to five years, you should get your first apricot.
While I planned to experiment with growing at least half a dozen apricot trees from stones just to see if I could, I grew flowers, herbs and green leafy vegetables instead.
Maybe this will be the year I get an apricot orchard started from leftover pits. Or, maybe I’ll joyfully accept gifted fruit and continue to keep my eyes peeled for abandoned trees that have dropped their fruit.
Apricot Jam
8 cups fresh apricots – peeled, pitted and crushed
¼ cup lemon juice
6 cups white pure cane sugar
5 (1 pint) canning jars with lids and rings
Mix apricots and lemon juice in a large pot; add sugar. Slowly bring to a boil, stirring until sugar dissolves. Cook and stir until apricot mixture thickens, about 25 minutes. Remove from heat and skim foam if necessary.
Meanwhile, prepare jars, lids and rings by cleaning and sterilizing in dishwasher or boiling water bath. Leave lids in simmering water until ready to seal jars.
Ladle hot jam into hot sterilized jars, leaving about ¼ inch of space on top. Run a knife or thin spatula around the insides of the jars after they have been filled to remove any air bubbles. Wipe the rims of the jars with a moist paper towel to remove any food residue. Top with lids and screw on rings.
Place a rack in the bottom of a large stockpot and fill halfway with water. Bring to a boil, then carefully lower the jars into the pot using a holder. Leave a 2-inch space between the jars. Pour in more boiling water if necessary until the water level is at least 1 inch above the tops of the jars. Bring the water to a full boil, cover the pot and process for 15 minutes.
Remove the jars from the stockpot and place onto a cloth-covered or wood surface, several inches apart, until cool. Once cool, press the top of each lid with a finger, ensuring that the seal is tight (lid does not move up or down at all). Store in a cool, dark area.
