

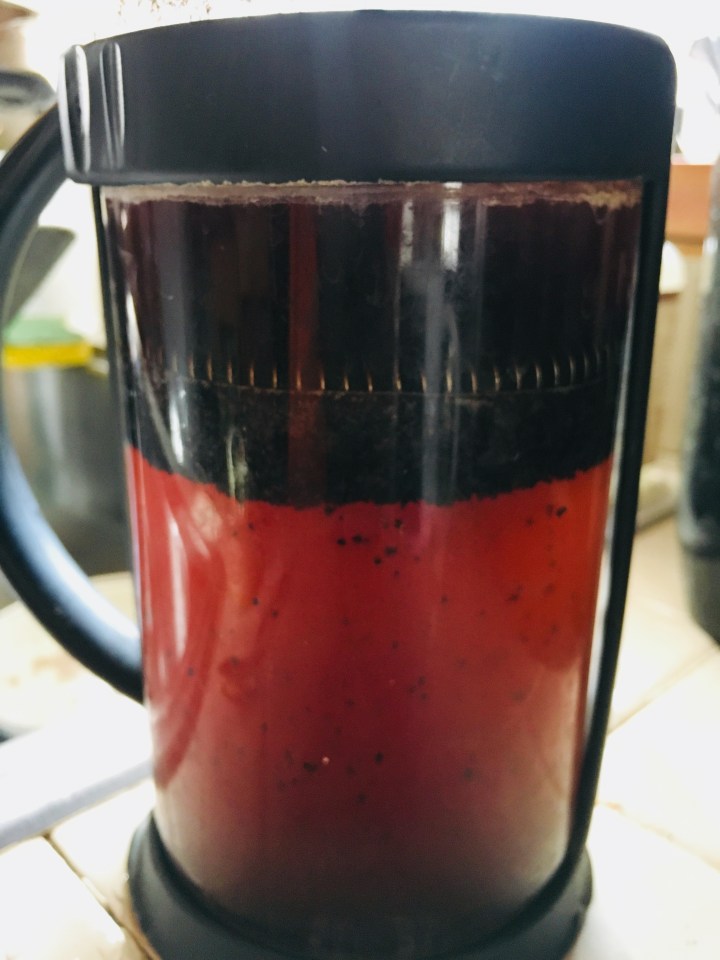
“This is terrible. This is the worst coffee I’ve ever had. What is this brown water?”
I knew it was pretty bad, but while I didn’t know it was as terrible as he made it sound, I wasn’t even slightly offended.
The day before, we’d run out of coffee. He’d had a long day, and I didn’t want to bother him with roasting coffee beans for our morning beverage, so I attempted it myself. He made it look so easy the countless times he’s roasted perfect beans for us to grind and turn into our favorite morning routine.
“I made it. Yesterday. While you were busy.” I replied.
“It’s terrible. Did you even get it to first crack?! Yuck. I’m roasting more right now, so throw this away and come watch how you’re supposed to do it.”

I knew it was an awful attempt. I’d even already brewed a cup of strong black tea for myself, just waiting to see what the verdict was on my first ever attempt at roasting coffee beans without any training.
I failed.
Since last summer, we’ve been roasting our own coffee beans at home. And by “we”, of course I mean he. Before we moved to Fort Davis, we’d just gotten started in-home roasting, and packed up our roasting gear and green coffee beans and stuck them out of sight.
After unpacking, I ran across not only our personal coffee bean roaster, but a ton of green beans that were sealed with oxygen absorbers that kept them fresh.
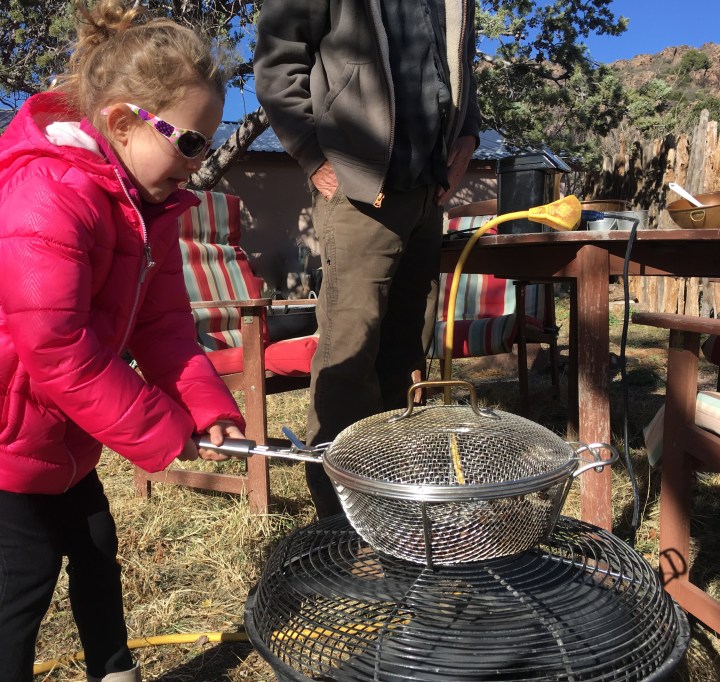
When my sister and her family visited us at Thanksgiving, we roasted coffee in the backyard, after giving the family a tutorial and hands-on roles in the coffee roasting. The Fort Davis Blue sky (that’s a real color out here) and the scent of roasting coffee beans in the cool air made for a wonderful memory. They enjoyed it so much that they now roast their own coffee, too, using our preferred method.


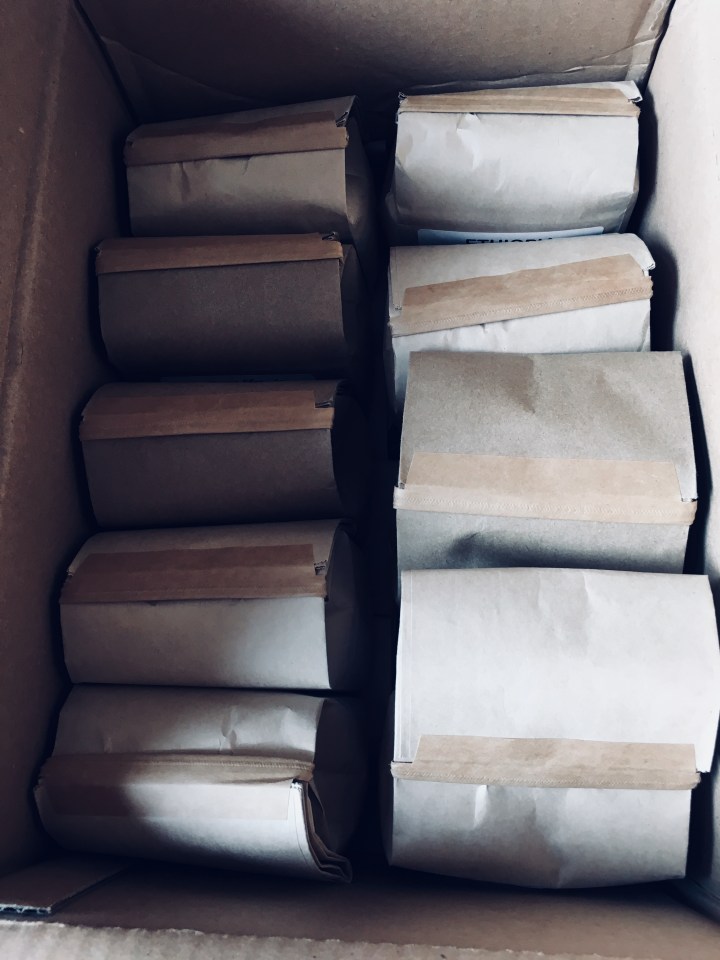
For my husband’s recent birthday, I bought him a 20-pound box of green coffee beans from 10 different locations around the world. He was like a kid in a candy store, roasting samples of every bean. We’ve been working our way through international flavors that are noticeably unique. I’m currently drinking a second cup of Guatemala Jasmin bean, which is said to have flavors of “apple pie and sweet, clean tangerine.” I don’t taste that yet, but I like it a lot.
You’ll want to do your homework before attempting to roast at home. As I learned the hard way, it’s not as easy as some people make it look.
There are 10 stages of roasting green coffee beans that you need to familiarize yourself with, and countless books, videos and websites dedicated to home roasting. There’s more to it than I have space for here on the newspaper page.
Home roasting can be done on the stovetop with a popcorn popper, or much easier with an electric popcorn popper that uses fast-moving hot air to roast the beans and keep them moving around while they are roasting. Our roaster is an electric popcorn popper with a glass hurricane lamp shade on it.

If using an electric popcorn popper, be sure and do it outside because the chaff from the beans will be flying all over the place. Place the proper amount of coffee inside the popper, which we will now refer to as “the roaster” (we do small batches in our small roaster – about 1/2 cup at a time). Check your manual to determine the correct amount.

Close the roaster and turn it on. Allow the green coffee to roast until the desired color has been reached. The longer you roast the coffee, the darker and stronger it will become.
The coffee beans pass through several stages as they go from raw green beans to beautiful, brown drinkable beans. Pay close attention because it can go to burnt and ash in a matter of minutes.
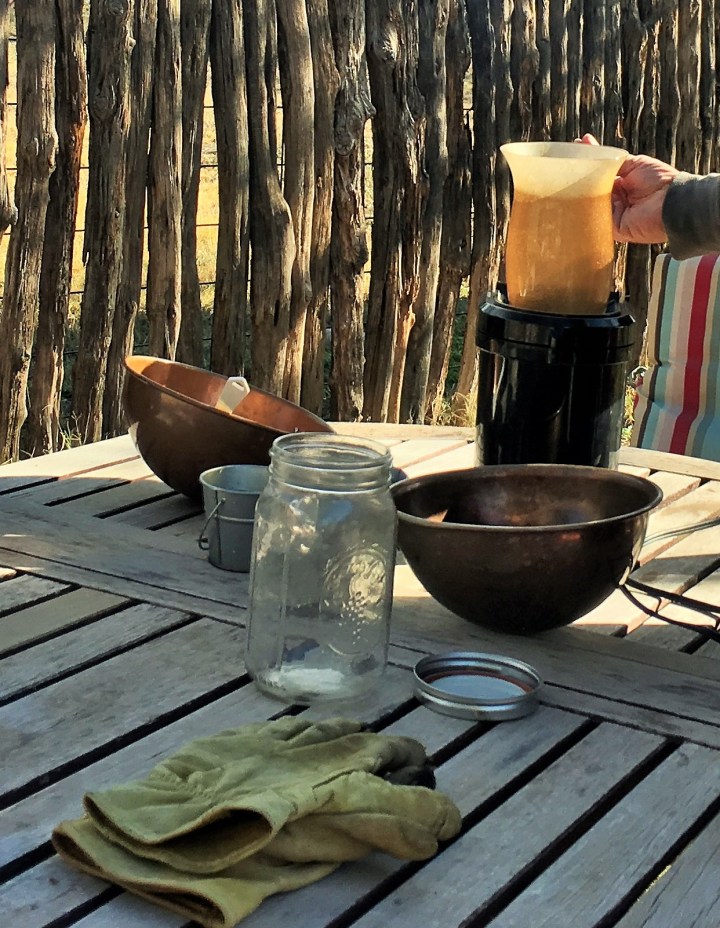
Pour the coffee into a colander and stir until it’s warm, no longer hot. We have a wire basket with a lid that we pour it in and shake it to cool. Depending on the roast, you might need to let it sit and release gasses before sealing it. Store it at room temperature, away from the sun. I like to use mason jars for roasted coffee storage.
Grind it and brew a fresh cup. Enjoy your home-roasted coffee.
The 10 Stages of Roasting Coffee
Green: The beans will retain their green appearance, even as they start to heat.
Yellow: They will become yellowish, and the beans will emit a grassy scent.
Steam: Steam will rise from the beans. That’s water inside the beans evaporating.
First Crack: The magic begins… sugars inside the beans caramelize, and a cracking sound is heard, like the sound of popcorn popping.
City Roast: Following the first crack, the beans have reached City Roast, the minimum level of roast acceptable for grinding and brewing.
City Plus Roast: Further caramelization of sugars and the migration of oils, the beans swell in size and reach City Plus Roast. Popular and common level of roast.
Full City Roast: Even darker roast that takes the beans to the verge of a second cracking.
Second Crack (Full City Plus Roast): More violent cracking and enter Full City Plus. This roast reveals even more layers of intensity to the flavor.
Dark Roast (French Roast): The smoke will become pungent, the sugars will burn as much as they can without ruining the flavor, and the bean’s overall structure will break down. This is the utmost limit of roasting within the lines of good flavor.
Burn: If you haven’t stopped roasting by this point, the smell will go from pungent to awful, with burnt beans to show.
Printed with the permission of the Alpine Avalanche

I can already smell the fresh roasted beans! I love this, but I must admit I didn’t realize this roasting coffee bean thing would be so difficult.
LikeLiked by 1 person
V, I thought it was going to be much less difficult too… LOL It’s not hard at all when you get the hang of it and know what to look and listen for… but I’m kind of impatient, so I’m leaving the roasting up to him. For now. 🙂
LikeLiked by 1 person
Very nice posrt. Your all posts are very nice. I liked it so much. Keep it up.
LikeLiked by 1 person