

I feel like I should be making pies. I rarely even eat pie, but I feel like I’m supposed to make at least one this week since I made so many in the past weeks.
In the week or so before the Lions Club Enchilada Supper, I “practiced” making a new kind of pie… a “slab pie.”
I’d never heard of slab pies until my friend Gwin Grimes suggested I make one, as she said they were the up-and-coming new dessert. She told me there was a slab pie cookbook she was anxiously awaiting to be released. I hopped on the internet and found that they were indeed a real thing – even Martha Stewart has recipes for them.
So, what is a slab pie? Slab pies are not your standard round pies. A slab pie is a pie that’s been baked in a rimmed pan like a jelly pan (or in my case, a 12×12 pan in the convection oven). There’s a higher crust to filling ratio than the round pie, and if you’re going to feed a crowd, this is the pie you want to make because you can cut it in at least twice as many pieces as a round pie… maybe even more. I got sixteen pieces out of my slab pies.
The slab pie is one of the easiest yet most rewarding and impressive desserts I’ve ever made. I cannot stress enough how easy it was. Maybe that’s the part that impressed me so much. So easy to make.
When I was practicing for my dessert contributions, I made a cream cheese and cherry slab pie that we ate almost all of the first day. Oops. It sure was tasty.

I figured I mastered the slab pie after that first try (did I mention how easy it is to make?), and was going to bake my next pie and freeze it. I’ve learned to not stress myself out for bake sales and that baking ahead and freezing the goods works just fine. You can freeze slab pies for up to two months if you let them completely cool and wrap them well.
No sooner had the steam dissipated from the blueberry slab pie, someone cut into it. And since I happened to be at the grocery store when the pie reached cool-enough-to-cut temperature, I came home to find a large portion of it missing.
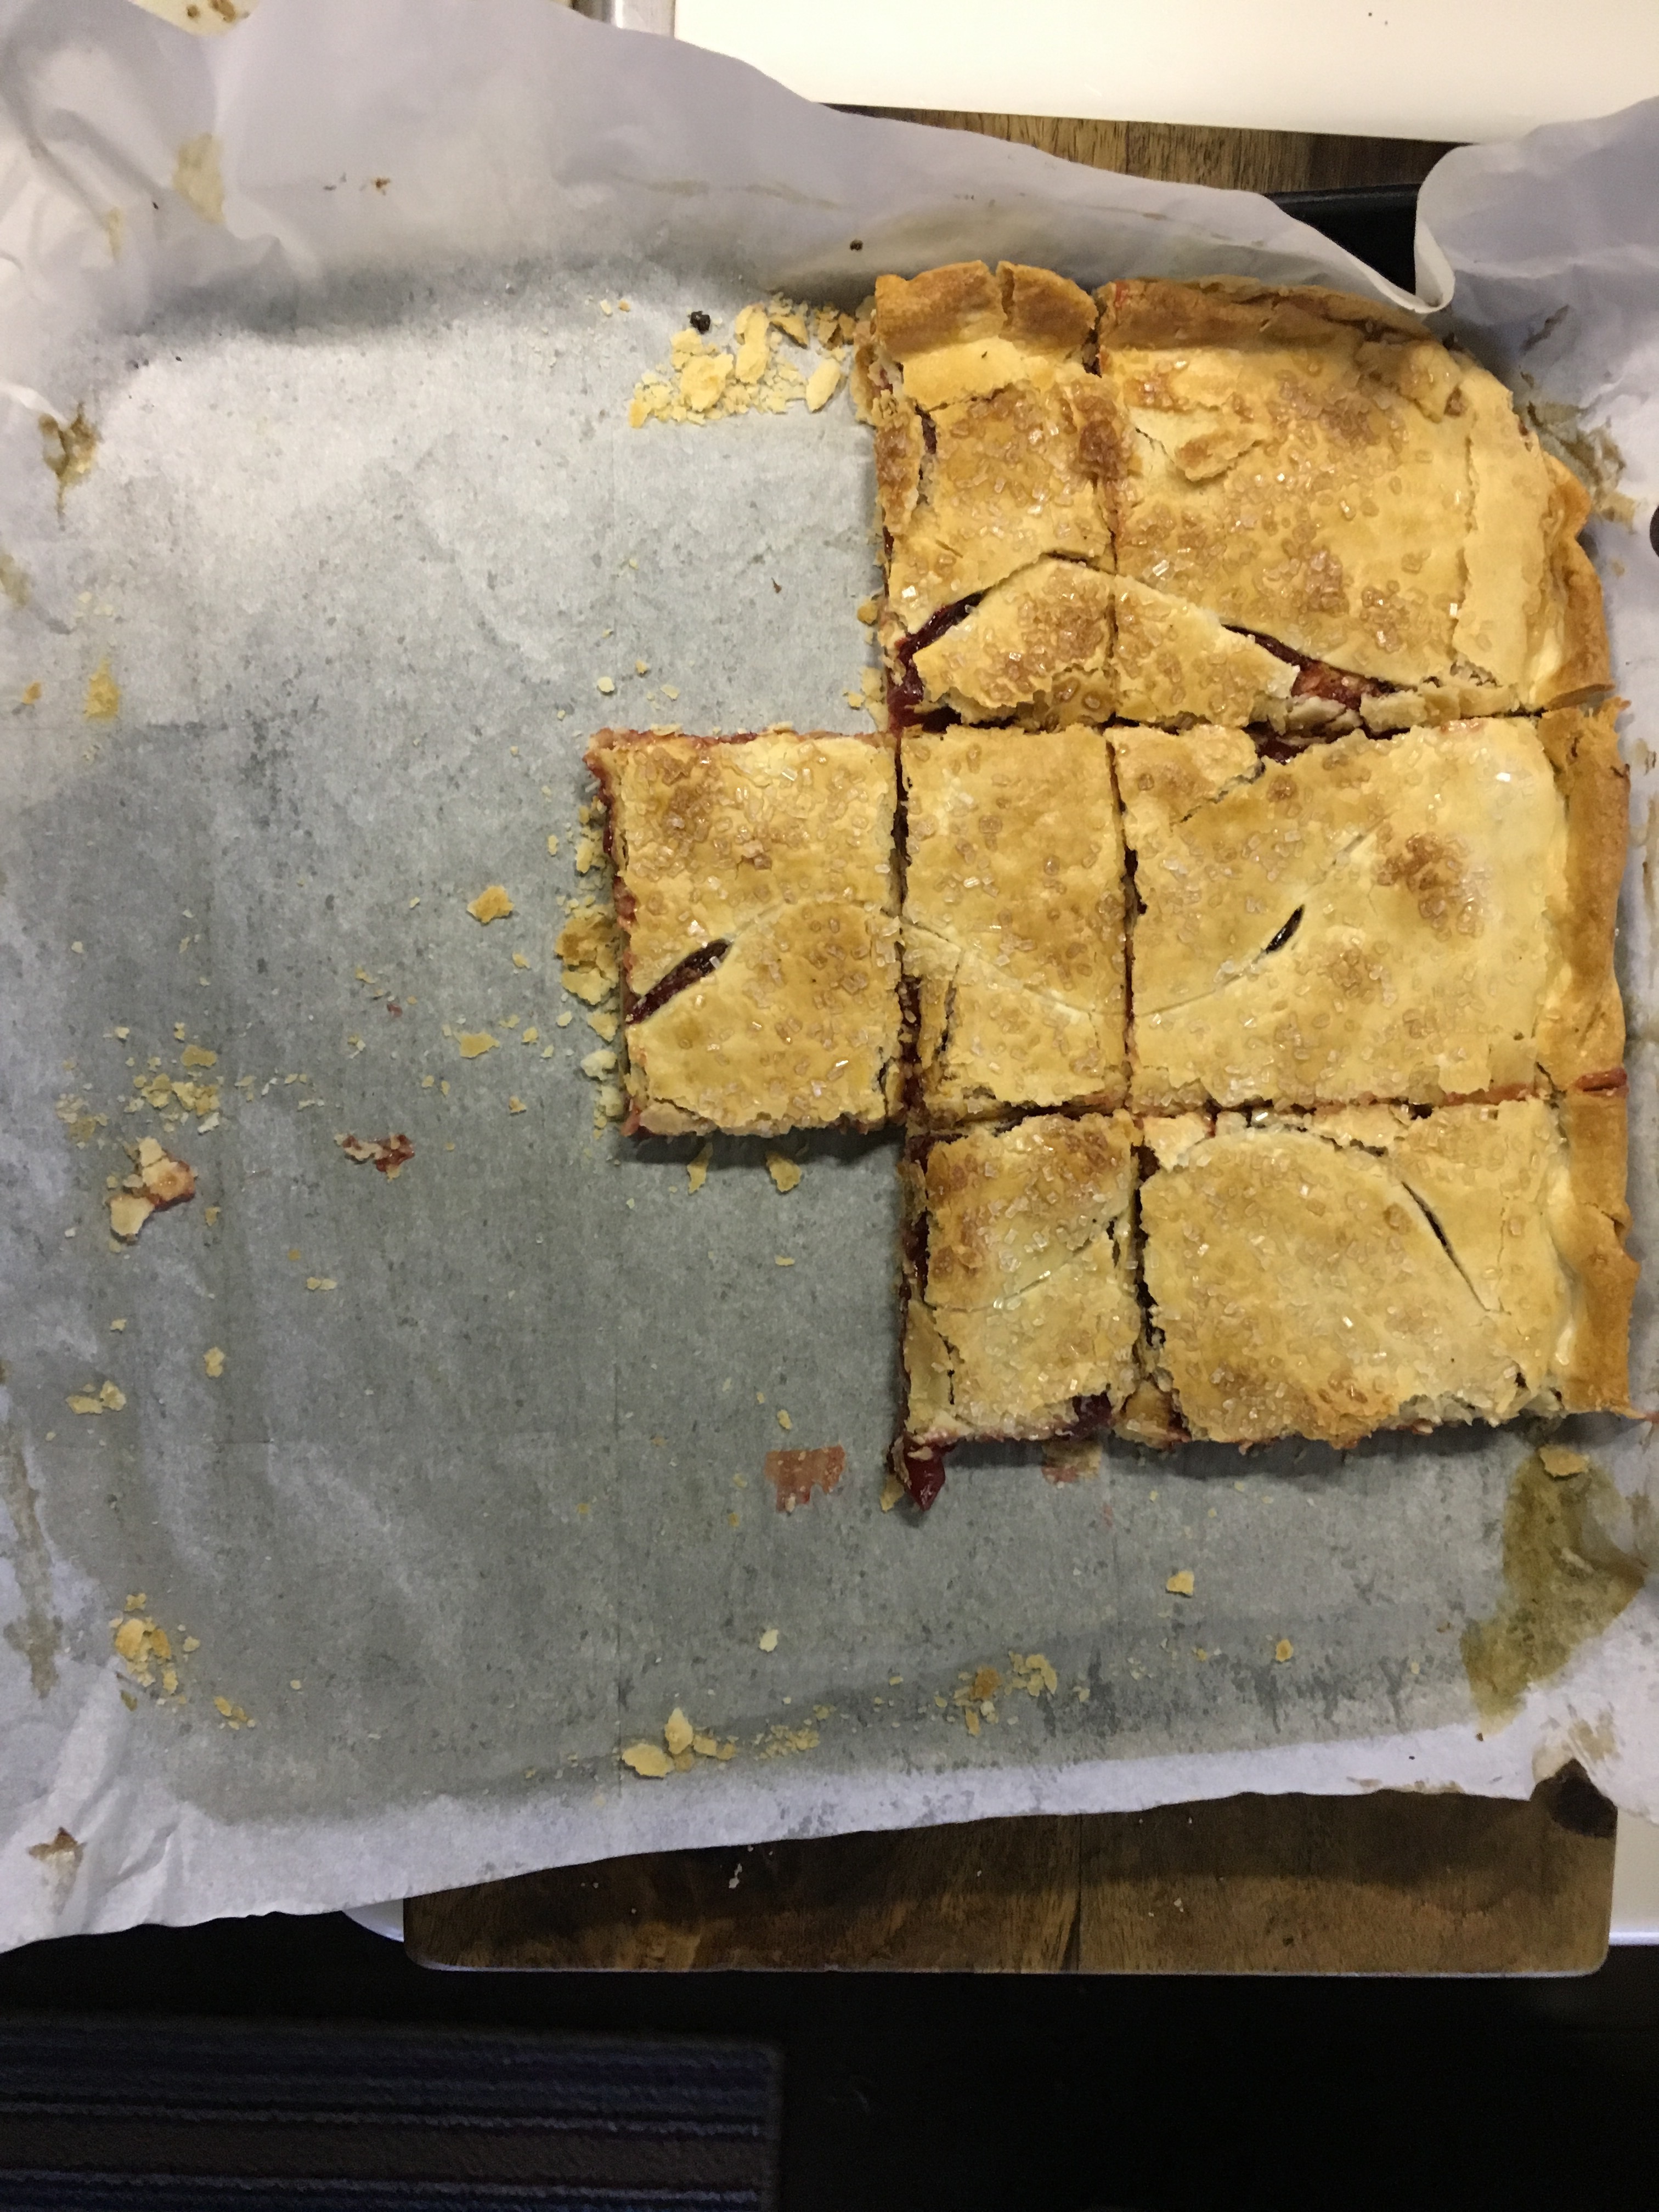
I can’t blame him for this – we both sampled straight from the pan until all that remained was crumbs. Of course, the small pieces were mine. Yeah, right… HA!!!
“Oh, I thought you were still practicing. This one’s good!” he said.
I just laughed, knowing how terribly easy the pie was to make and figured I’d just make the ones I was contributing on the morning of the event, just to be safe. No big deal. For the event, I made a simple cherry pie-filling pie, and a peach pie-filling pie with cinnamon and sugar on top. They were huge hits.
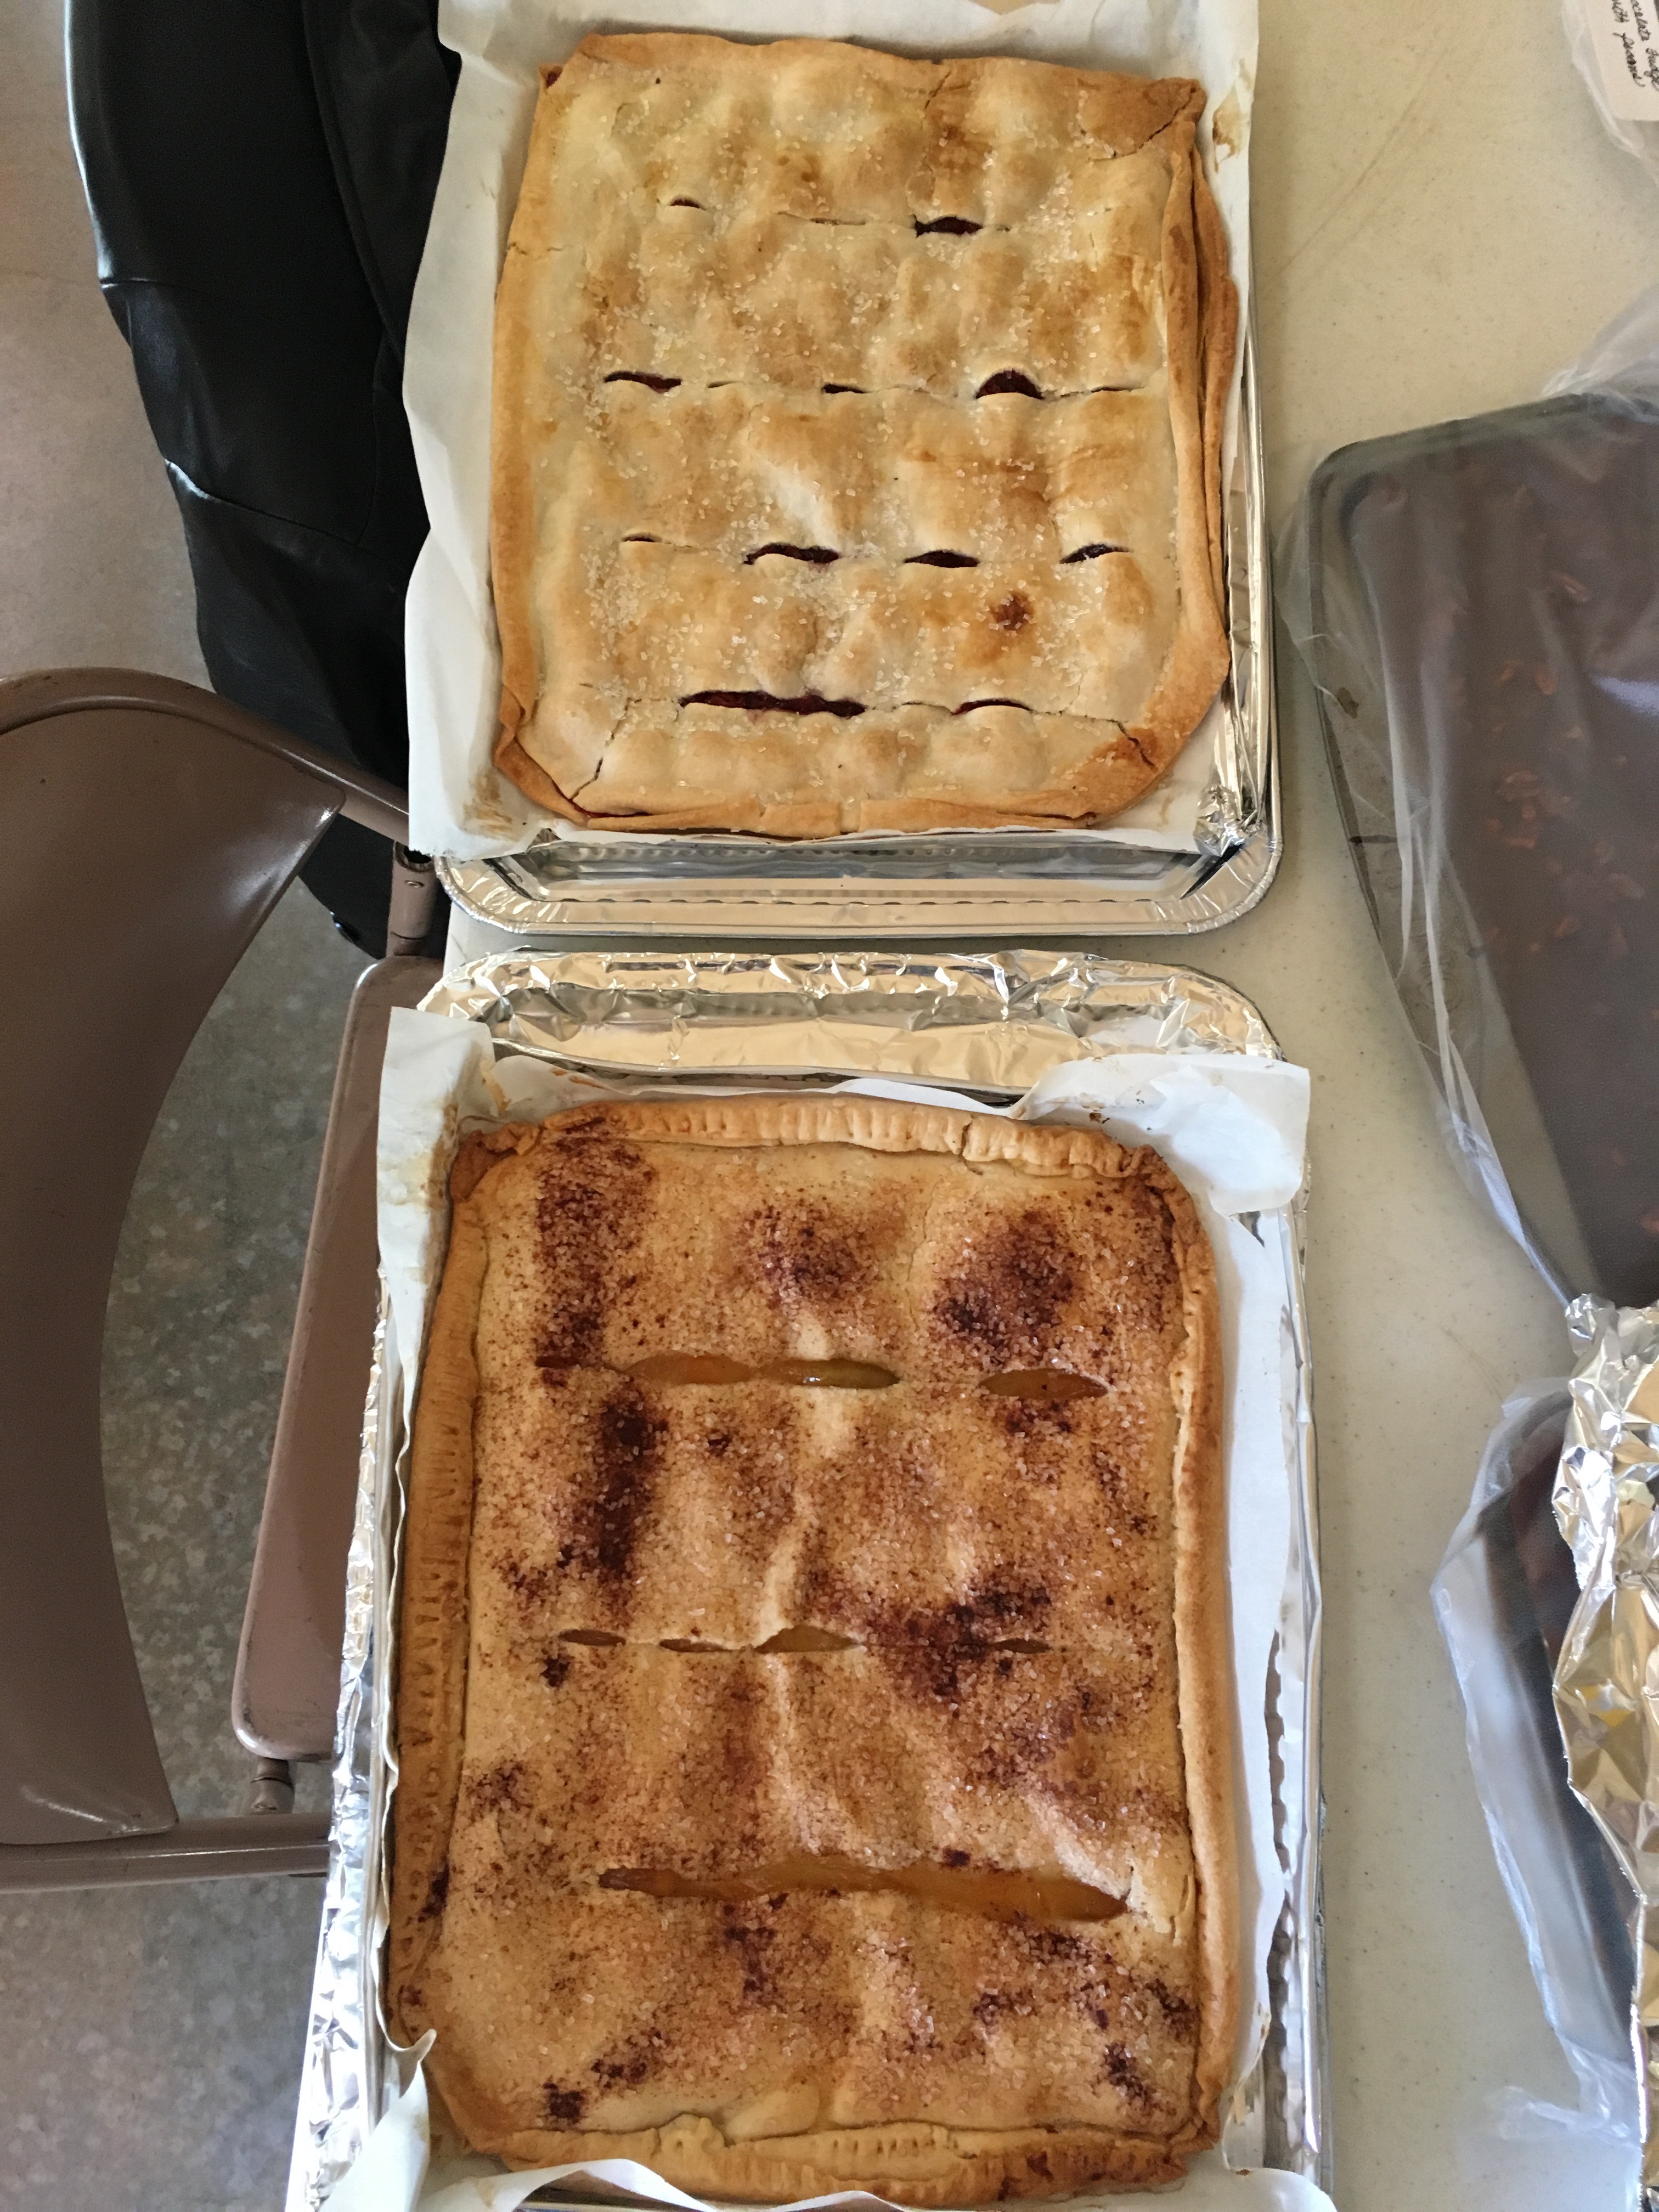
There are countless ways to create your own slab pie. Use your same standard pie fillings, just put them in a differently shaped pie shell. You can even make savory slab pies for a main course rather than just dessert. I kept our slab pies simple, and added crystallized sugar and vents to the tops. Cut your top crust and make basket weaves, or leave them plain. Oh, the options are unlimited.
Thanksgiving is going to be here before you know it. Make your Thanksgiving dinner a little easier by exchanging a round pie with a slab pie. Impress your family and friends with a new way to eat pie… and while they’re delighting in the slab pie, giggle quietly to yourself because you know how easy it was to make 😊👌🏻
Blueberry Slab Pie
1 box refrigerated pie crusts (2 crusts), softened as directed on box
2 cups fresh blueberries
1/4 cup plus 1 teaspoon sugar
1-1/2 tablespoons cornstarch
1/2 teaspoon ground cinnamon
1/2 teaspoon grated lemon peel
1 egg, beaten
(Note: any canned pie filling will work just as well – just use it in place of everything except the pie crust and sugar for the top!)
Heat oven to 400°F. Remove one of the pie crusts from pouch. Unroll and stack on lightly floured surface. Roll to rectangle or square that fits your pan – fit crust into ungreased 12×12 or 9×13 pan, pressing into corners. Do not trim pie crust edges.
In large bowl, mix blueberries, 1/4 cup of the sugar, the cornstarch, cinnamon and lemon peel until well mixed. Spoon into crust-lined pan.
Unroll and stack remaining pie crust on lightly floured surface. Roll to rectangle that fits your bottom layer. Place it on top of fruit-filled layer.
To make lattice top, cut 1/2-inch-wide strips with pastry cutter or knife. Place half of the strips across pan diagonally. Weave remaining strips with first strips to form lattice. Trim edges of strips even with edge of bottom crust.
Pinch edges of crust together to seal, tucking under pastry crust, if necessary. Flute or crimp edges. Brush with beaten egg. Sprinkle with remaining 1 teaspoon of sugar.
Bake 35 to 40 minutes or until crust is deep golden brown and filling is bubbly. Cool completely, about 1 hour.
Printed with the permission of the Alpine Avalanche

Good food knows no boundaries of shape. Cheers!! 😊
LikeLiked by 1 person